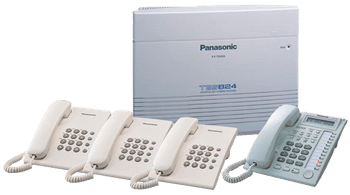
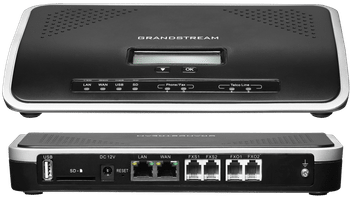
PBX Installation and Configuration
The PABX system provides both internal and external telephone communication, by utilizing diverse communication platforms like VoIP, ISDN or analog. A PABX system further supports you to have more phones than physical lines and provides free calls among users. Besides, it gives facilities such as recording calls, call transfer, voicemail, IVR and call queues.
PABX system provides all of the company staffs obtain more than one telephone line via their desk’s phone. The PABX systems are comfortable to use and give excellent assistance, but their installation can be boring and taking too much time. Many telephone system providers offer phone support that will assist the programming of the PABX system.
Steps for PABX System Installation
To install the PABX system, find a position convenient to all phone lines and staff; this is where we will mount the PABX itself. PABX must be connected to all the phone lines and all telephone devices.
- Fasten the PABX to the surface with mounting material and screwdriver. It may need to make the holes on the wall using an electric drill.
- Fix all necessary circuit cards to the PABX system. These cards are usually used for voicemail facility and have dedicated, labeled slots for each feature card.
- Connect all telephone lines directly to the PABX using telephone cables. These telephone lines are provided by the telephone service provider.
- Connect a telephone cable from the PABX to all of the staff’s phone.


- Connect the power cord of the PABX system to a wall outlet and turn on the system and check to make sure all its system indicators are lightened.
- Turn on all phones and watch for the proper indicator to flag that it has properly connected with the PBX.
- Program the PBX system as per the directions in the manual provided by PBX manufacturer.
- After successfully completing the programming, test each phone for receiving and making both internal and external calls.